Getting started
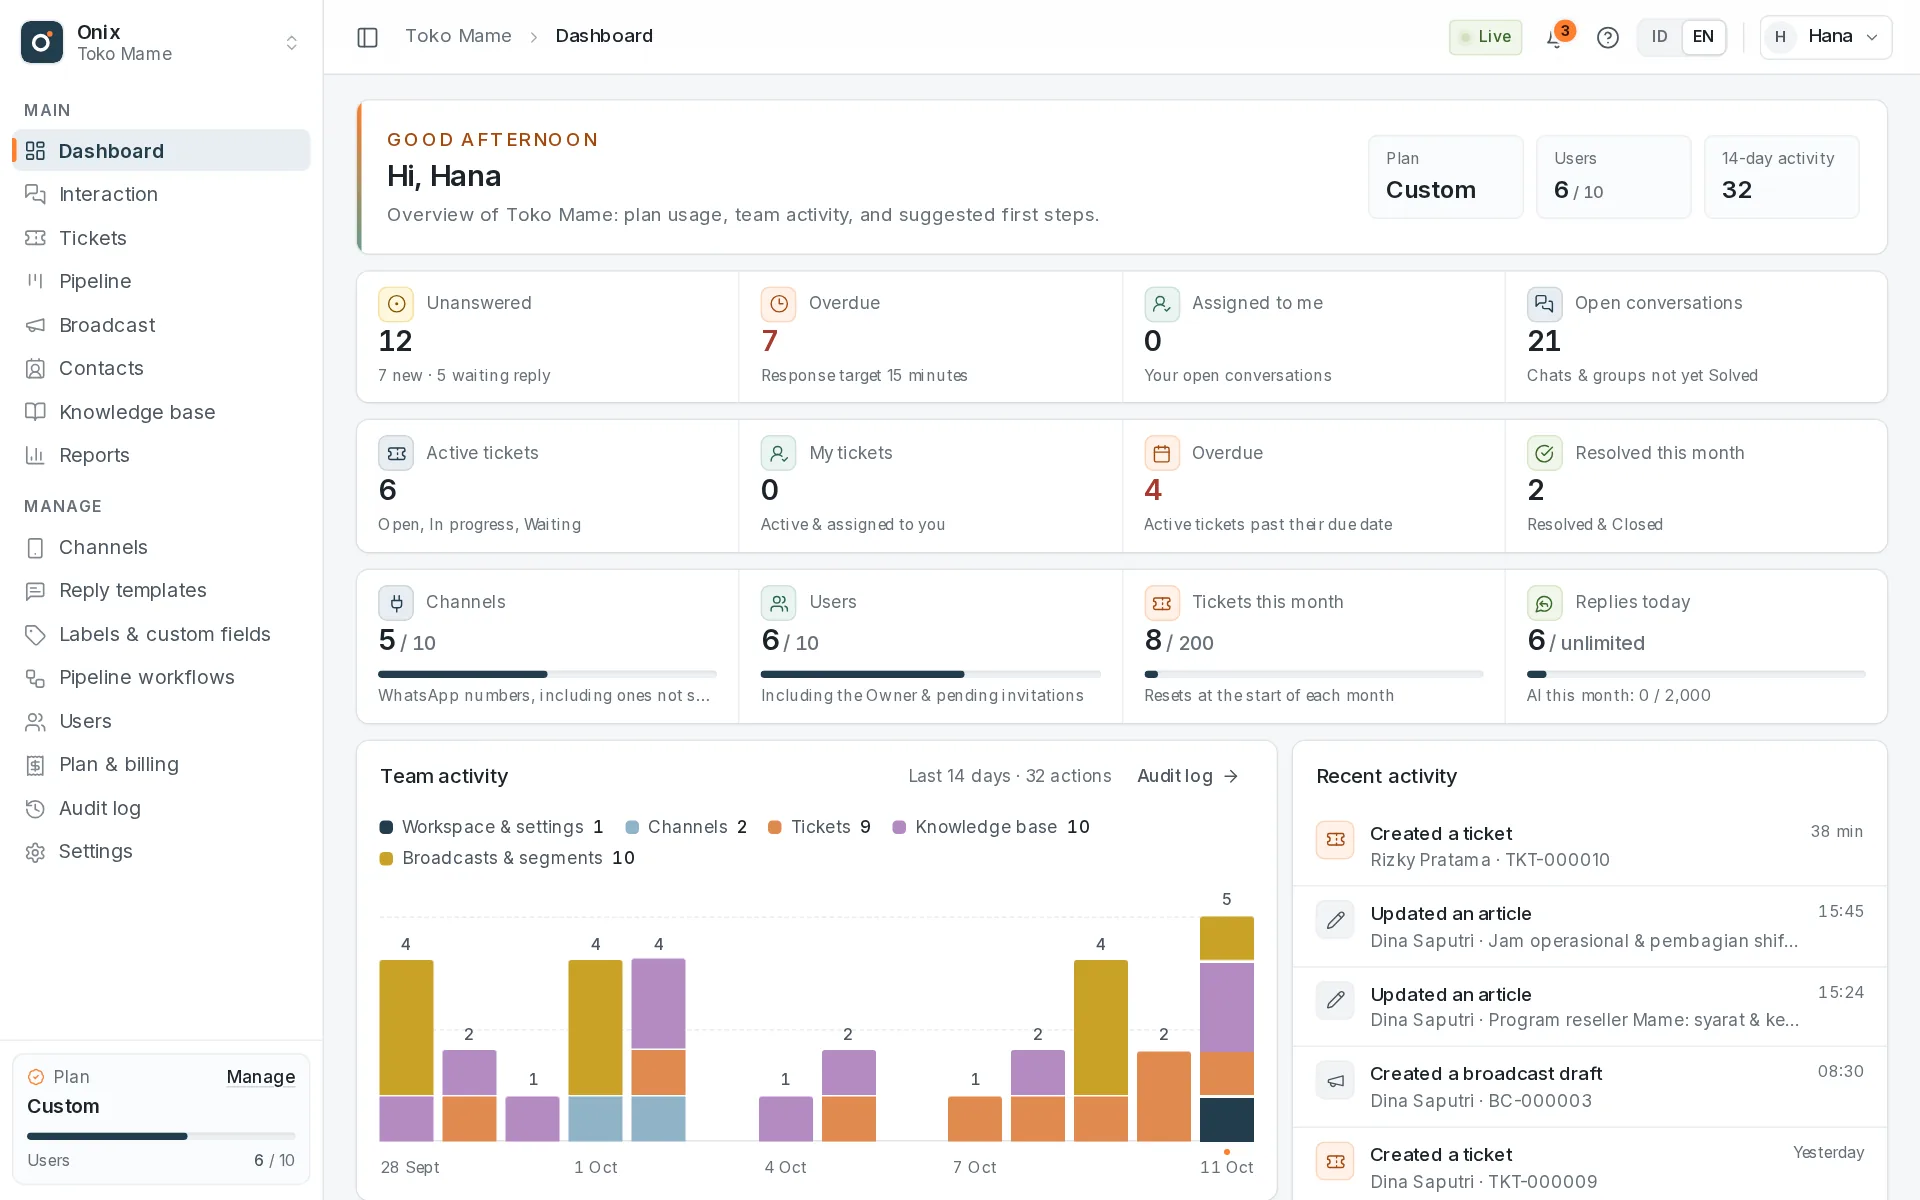
1. Sign in with Google
Open the sign-in page and choose Sign in with Google. Onix has no passwords of its own: your Google account (Gmail or Google Workspace) is your identity, so your account security follows your Google settings, including 2-Step Verification.
2. Create a workspace
- The first time you sign in, enter a workspace name, usually your business or team name. You can change it any time in Settings → Workspace.
- A new workspace starts on the Free plan and you become its Owner: you have every permission and you're responsible for billing.
- Free and Pro accounts can own only one workspace. Custom plan customers can own several workspaces as their contract allows: create them from the workspace name at the top left → Create a new workspace.
- Any account can be a member of other workspaces by invitation. Switch workspaces from the workspace name at the top left.
Invited to someone else's workspace? Open the link in the invitation email and sign in with the Google account whose email matches the invitation. You don't need to create a workspace of your own.
3. Take the app tour
The first time you sign in, a short tour points out the menu, the workspace switcher, the Get started with Onix card on the Dashboard, notifications, help, account & language, and the plan card. Use Next, Back, or Skip. You can replay the tour any time from Help (the question-mark icon at the top right) → App tour.
4. Invite your team
- Open Users → Members, enter the member's Google email, choose a role and teams, then click Send invitation. Non-admin roles need at least one team.
- Invitations are valid for 7 days. The recipient must sign in with the Google account whose email matches the invitation.
- Expired invitations can be resent, and invitations that haven't been accepted yet can be cancelled.
The user quota includes the Owner, and pending invitations count toward it: 2 users on the Free plan, 10 on Pro. See Plan & billing for details.
5. Set up roles
A role is a set of permissions, managed in Users → Roles. Every new workspace comes with these roles:
| Role | For | Current default access |
|---|---|---|
| Owner | The workspace owner | Every permission, including Plan & billing. A system role: it can't be changed or deleted. |
| Supervisor | Team leads who oversee the team's work | View the dashboard, View conversations (by channel access & team), Reply to conversations & change their status, Assign conversations to other members, Manage reply templates, Open the Tickets menu (visible tickets follow teams & assignment), Create tickets from conversations, contacts, or the API, Change ticket status, priority, due date & assignees, View contacts, profiles & statistics, Edit, merge, import/export & delete contacts; labels & custom fields, View the workspace audit log, Read the knowledge base (page & widget), Write & manage knowledge base articles and categories, Use AI: conversation summaries & semantic search, View reports & export CSV, Open the Pipeline menu & dashboard (visible leads follow team & owner), Create, edit, move & import leads; activities, files, schedules, expenses, Manage workflows, stages, lost reasons & expense categories, Add, edit & delete clients; link contacts to clients, View broadcasts, the dashboard, reports & contact segments, Manage contact segments & broadcasts: create, schedule, pause, cancel, download reports |
| Agent | Agents who serve customers | View the dashboard, View conversations (by channel access & team), Reply to conversations & change their status, Open the Tickets menu (visible tickets follow teams & assignment), Create tickets from conversations, contacts, or the API, View contacts, profiles & statistics, Read the knowledge base (page & widget), Use AI: conversation summaries & semantic search, Open the Pipeline menu & dashboard (visible leads follow team & owner), Create, edit, move & import leads; activities, files, schedules, expenses |
| Back Office | Teams that handle cases passed on by agents | View the dashboard, View conversations (by channel access & team), Open the Tickets menu (visible tickets follow teams & assignment), Change ticket status, priority, due date & assignees, View contacts, profiles & statistics, Read the knowledge base (page & widget), Use AI: conversation summaries & semantic search, Open the Pipeline menu & dashboard (visible leads follow team & owner), Create, edit, move & import leads; activities, files, schedules, expenses |
- You can edit or duplicate the default roles, and create new roles by ticking the access you want for each menu. Changes apply right away to every member with that role.
- A role that's still assigned to members or pending invitations can't be deleted.
- Members only see the menus they have access to. Apart from the Owner, people who manage members can only assign roles whose permissions they have themselves.
- Inbox access follows each member's channel access: all channels or selected channels only (the Channel column in the user list). Members with selected-channel access don't see new channels automatically — when you create a channel, tick the option to give them access.
- Roles flagged as Admin role automatically see all data and don't need a team (default: Supervisor).
6. Set up teams
Teams decide which conversations and tickets each member sees. Frontline teams handle Interaction, Back Office teams handle tickets and other modules. Unassigned conversations are visible to every agent; once assigned to a team or a person, only that team or person sees them. Manage them in Users → Teams; the full guide is in Teams & data access.
7. Set the time zone
You choose the time zone when you create the workspace (default GMT+7 (WIB: Jakarta, Bangkok)) and can change it in Settings → General. The workspace time zone is the default for every member and decides when a new day starts for daily quotas (such as the reply quota on the Free plan).
Members who work from another zone can pick a personal time zone in My account. Every date and time they see (dashboard, audit log, invoices, notifications) then uses their own zone; other members keep the workspace zone.
8. Choose your language
Onix is available in English and Indonesian. Switch with the ID | EN toggle at the top right, or in the account menu (Language). Your choice is saved to your account, so it follows you to other devices, and it only changes what you see, not what other members see.
9. Transfer workspace ownership
- The Owner opens Settings → Workspace → Transfer ownership, picks an active member as the new owner, chooses to stay as a member (with a given role and teams) or to leave, then types the workspace name to confirm.
- The recipient gets a notification and an email, and accepts or declines within 7 days. Until then you remain the Owner and can cancel the request.
- A recipient who already owns a Free/Pro workspace can't accept; Custom customers can while their contract still has a workspace slot free.
- Free and Pro plans stay as they are. A Custom workspace follows the recipient's Custom contract, or becomes Free if the recipient has no Custom contract. The billing email moves too if it was the previous Owner's email.
What's next
- Connect WhatsApp: scan a QR code with the WhatsApp app on your phone to connect a personal or WhatsApp Business number. Private chats and groups arrive in your team inbox in real time.
- Also connect your business email, put livechat on your website, or connect your app through an API channel (Pro). Set your business hours in Settings → General so greetings & after-hours messages go out at the right time.
- Write answers to frequent questions in the Knowledge base, then insert them into replies from the widget.
- Set up reply templates for answers you use often, then insert them in the reply box with
/. - Keep an eye on important activity, such as invitations, role changes, settings, and billing, in the Audit log.
- Need more numbers, users, AI, or API access? See Plan & billing.
- Connect your other systems with API v1 (Pro).